

When my friend Shirley recently asked me to fix up a canvas shopper for her, so I came up with these fabric flowers to make it a little more interesting. They're so simple and versatile, I made a headband and broach while I'm at it. Here's how...
 All you need are some scraps of fabric, needle and thread and a nice button. Any fabric works, depending on the effect you want, but the shiny thin lining for the brown flower worked the best. I kept it simple here, but try mixing colours and prints.Cut out 5 circles the size you want your flower, and four slightly smaller ones.
 Fold a big circle in four and sew the quarter on another big circle. Do this with the other three and then layer the smaller circles on top. Cover the stitches by sewing on the button. Don't finish off the stitching at the back just yet, but leave a long thread at the back.Use it to stich the flower onto whatever it is you're making pretty.
  The flowers are great for a bunch of things, but instead of making ten different ones, here's a easy tip for making them more versatile: Glue or stich one side of a square of velcro onto the back of a flower. Then take the other side of the velcro and glue squares on hairbands, broaches or anything else you want. Now you can use the same flower for a bunch of different things without having to make five. Nice, huh?
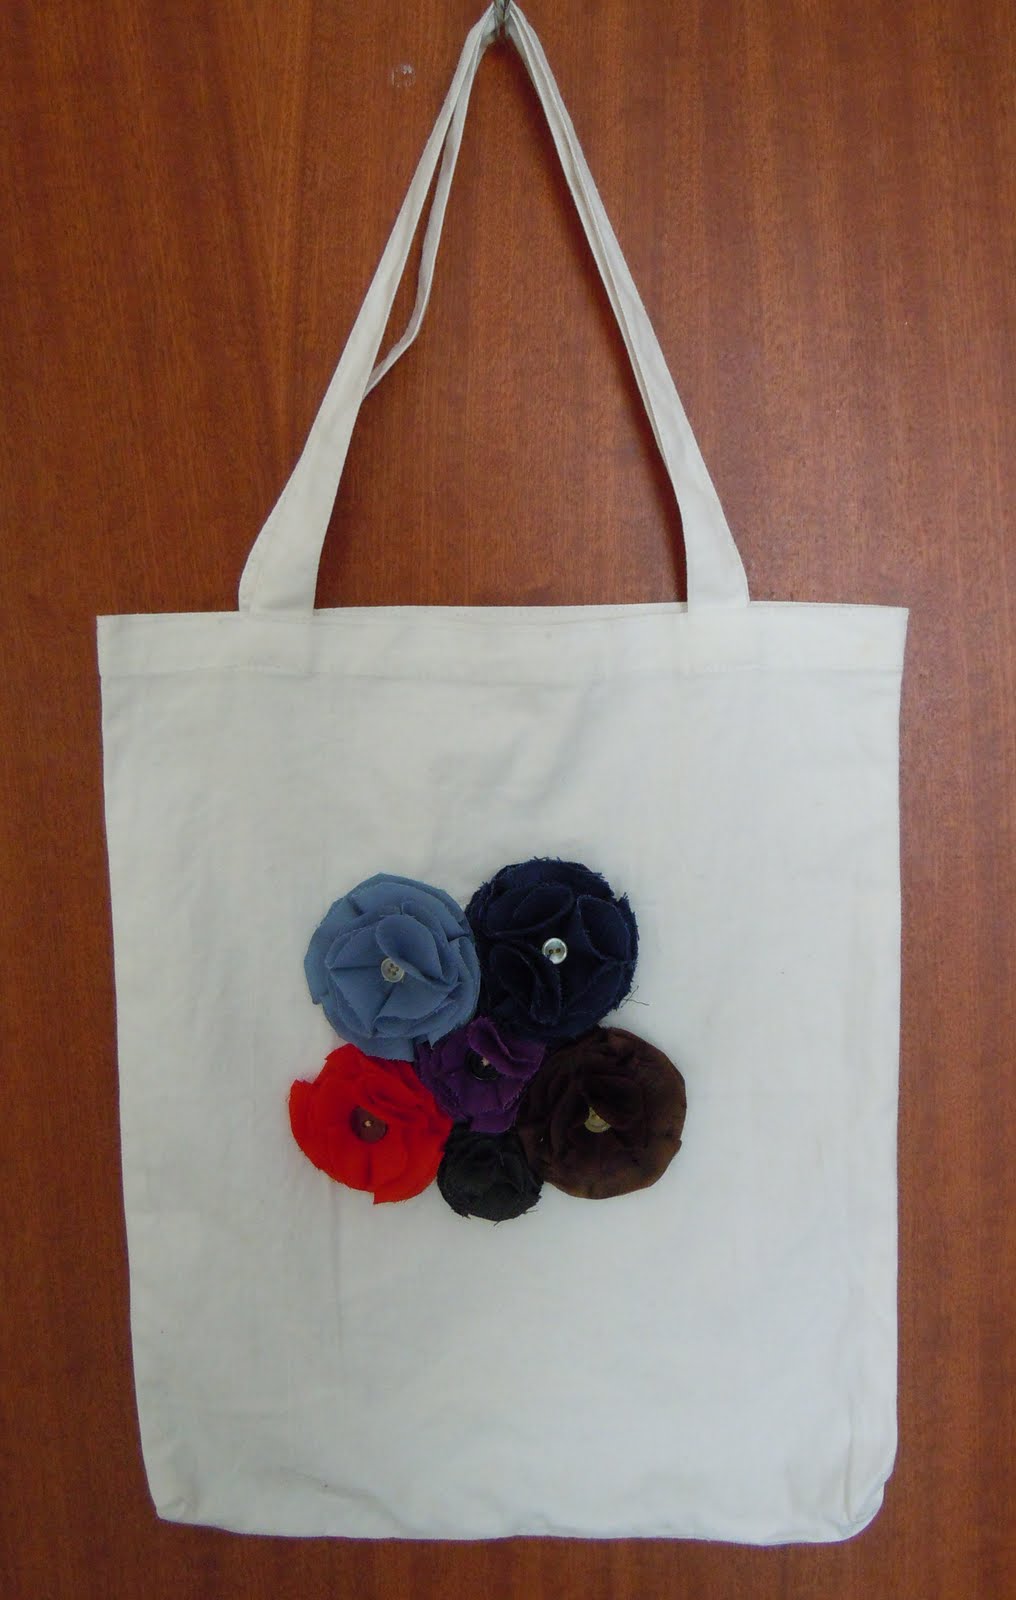

It's that simple!
Now Shirley has a pretty new bag and I have a versatile little flower.
Isn't happiness simple when it's made of fabric? :)
Likey likey.
ReplyDeleteAh! I love it =) -Nice to meet you indie bag!-
ReplyDeleteThanks for the makeover =)
XoXo
Aw, glad you like it Shirls.
ReplyDelete